Make a book
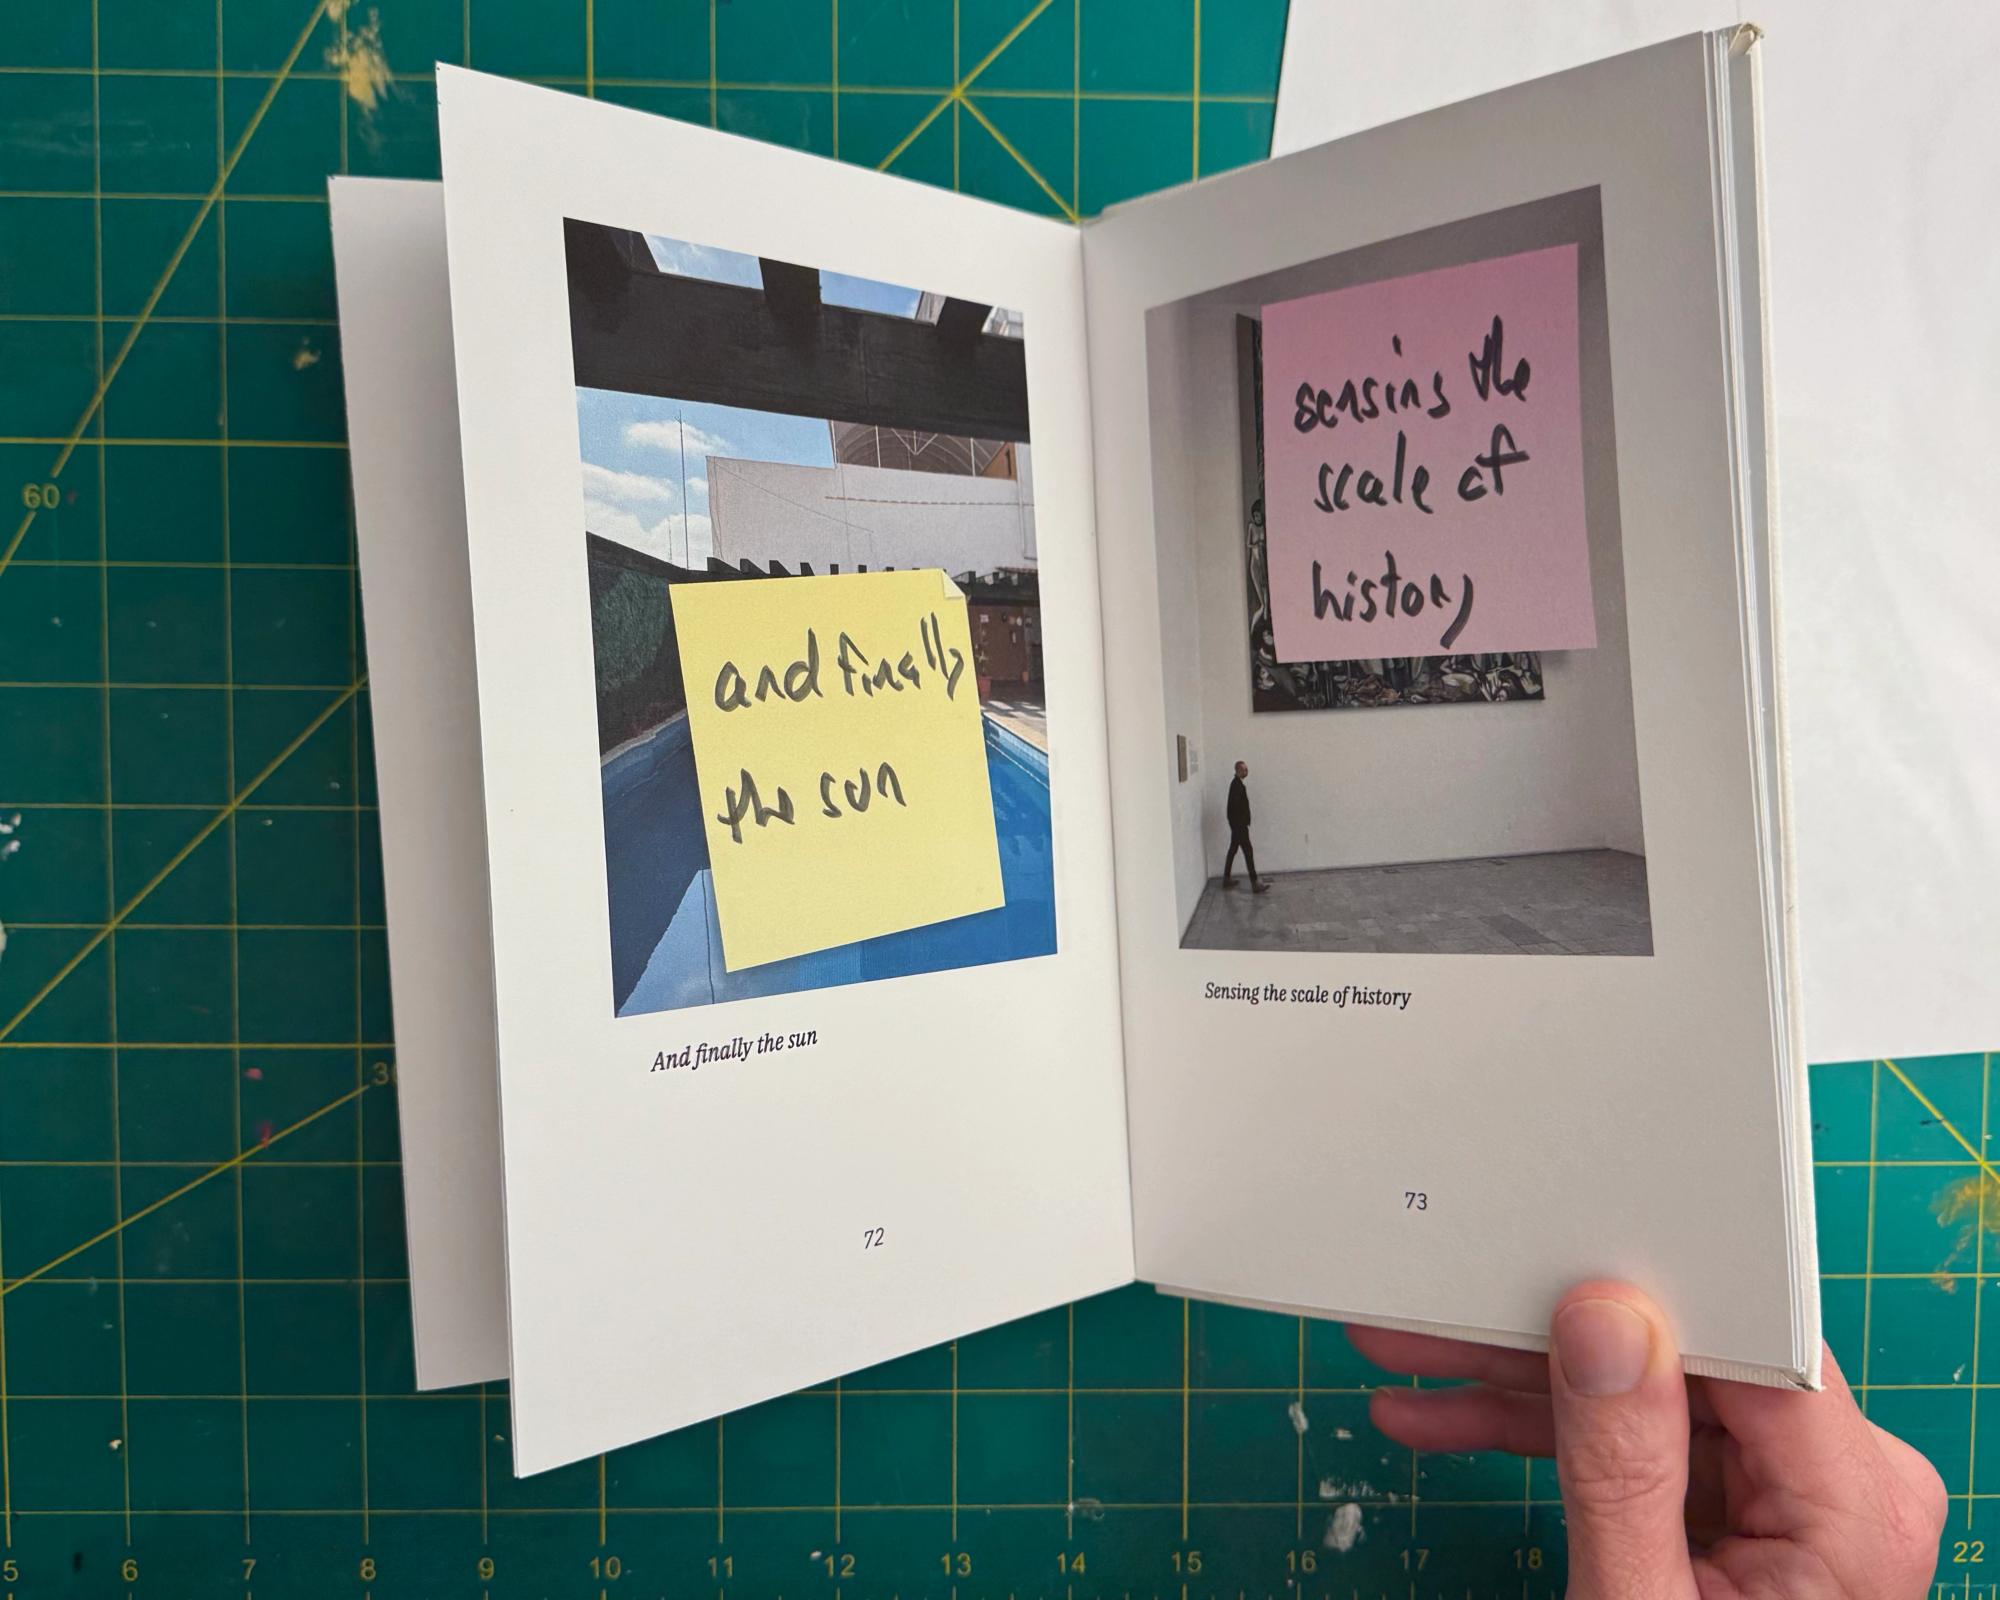
When I shared my 90 notes to self project with my wife she gave me a great suggestion: Have all of the images printed and bound as a book. She meant “hire a service to have a book printed” but where’s the fun in that? I have a printer, book binder‘s glue, and a free Saturday. Let’s make a book.
Before the weekend came around I found this great little YouTube video which demonstrates the technique I wanted to use. This is a pure, wholesome YouTube video. No demands to like and subscribe. Just a demo on how to do a thing. The technique is straightforward. I don’t have the book press he has, but I could improvise with my big binder clips and strips of wood. I don’t have a bench clamp, but I do have a giant stack of heavy art books. I could make this work.
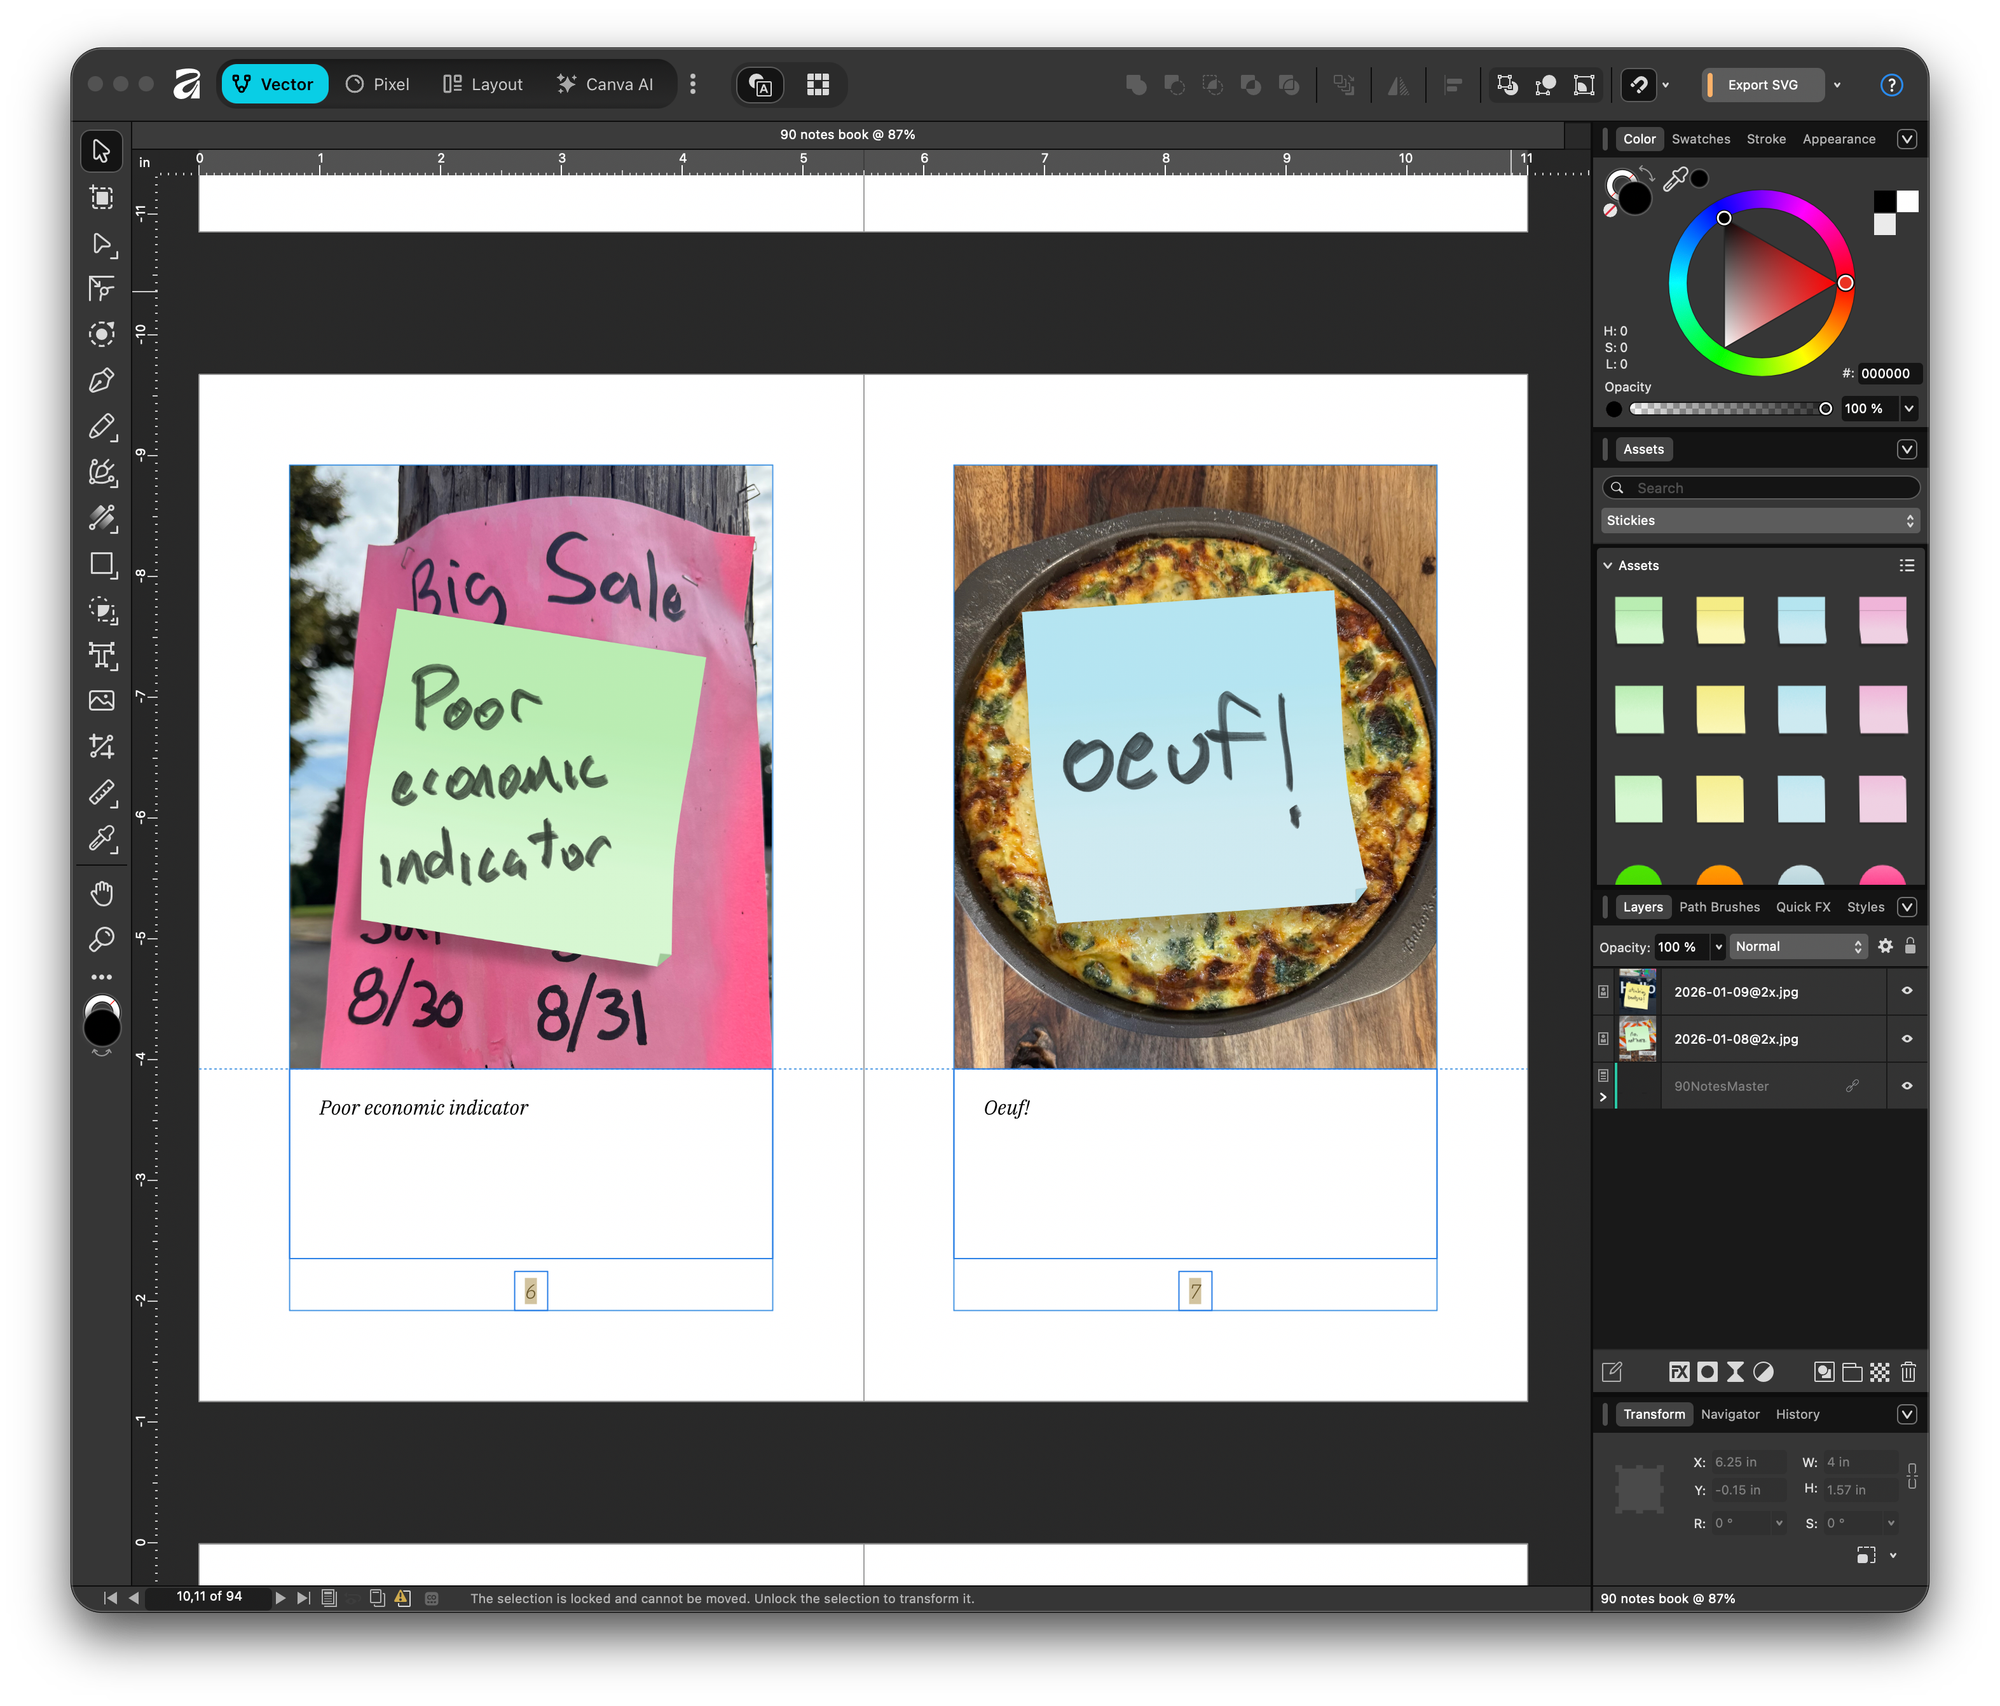
I used Affinity to lay out all of the pages for the book. Affinity is proving to be a really good software platform but their help documentation and AI search bot are incomplete and incorrect. It took a while to figure out how to do page numbering. Affinity’s “Layout” mode supports page spreads and will automatically organize your pages into the wonky order needed for printing a book.
I created a title page, and end page, and a small intro to describe the project. Then I transcribed all of the notes so no one would have to suffer through my handwriting. I then “printed” the file as a PDF. I have found that printing from Apple’s Preview app is typically easier to manage than most other applications. It’s not only smaller, lighter, and faster than a big design tool; it remembers printer configurations and makes it easy to select a batch of pages to print.
Printing turned out to be a bigger ordeal than I imagined. My Epson Sure Color T2170 is a beast. It prints 24” wide and handles paper, canvas, and even water color paper. Oddly it will not print anything smaller than 8 ½” x 11” paper. And it is finicky.
I tried to print a couple of test pages, and while my Mac could “see” the printer it couldn’t talk to the printer. Everyone seemed to be connected to the network. Try again. Restart. Try again. Give up. Download new printer software. Install. Try again. Success!
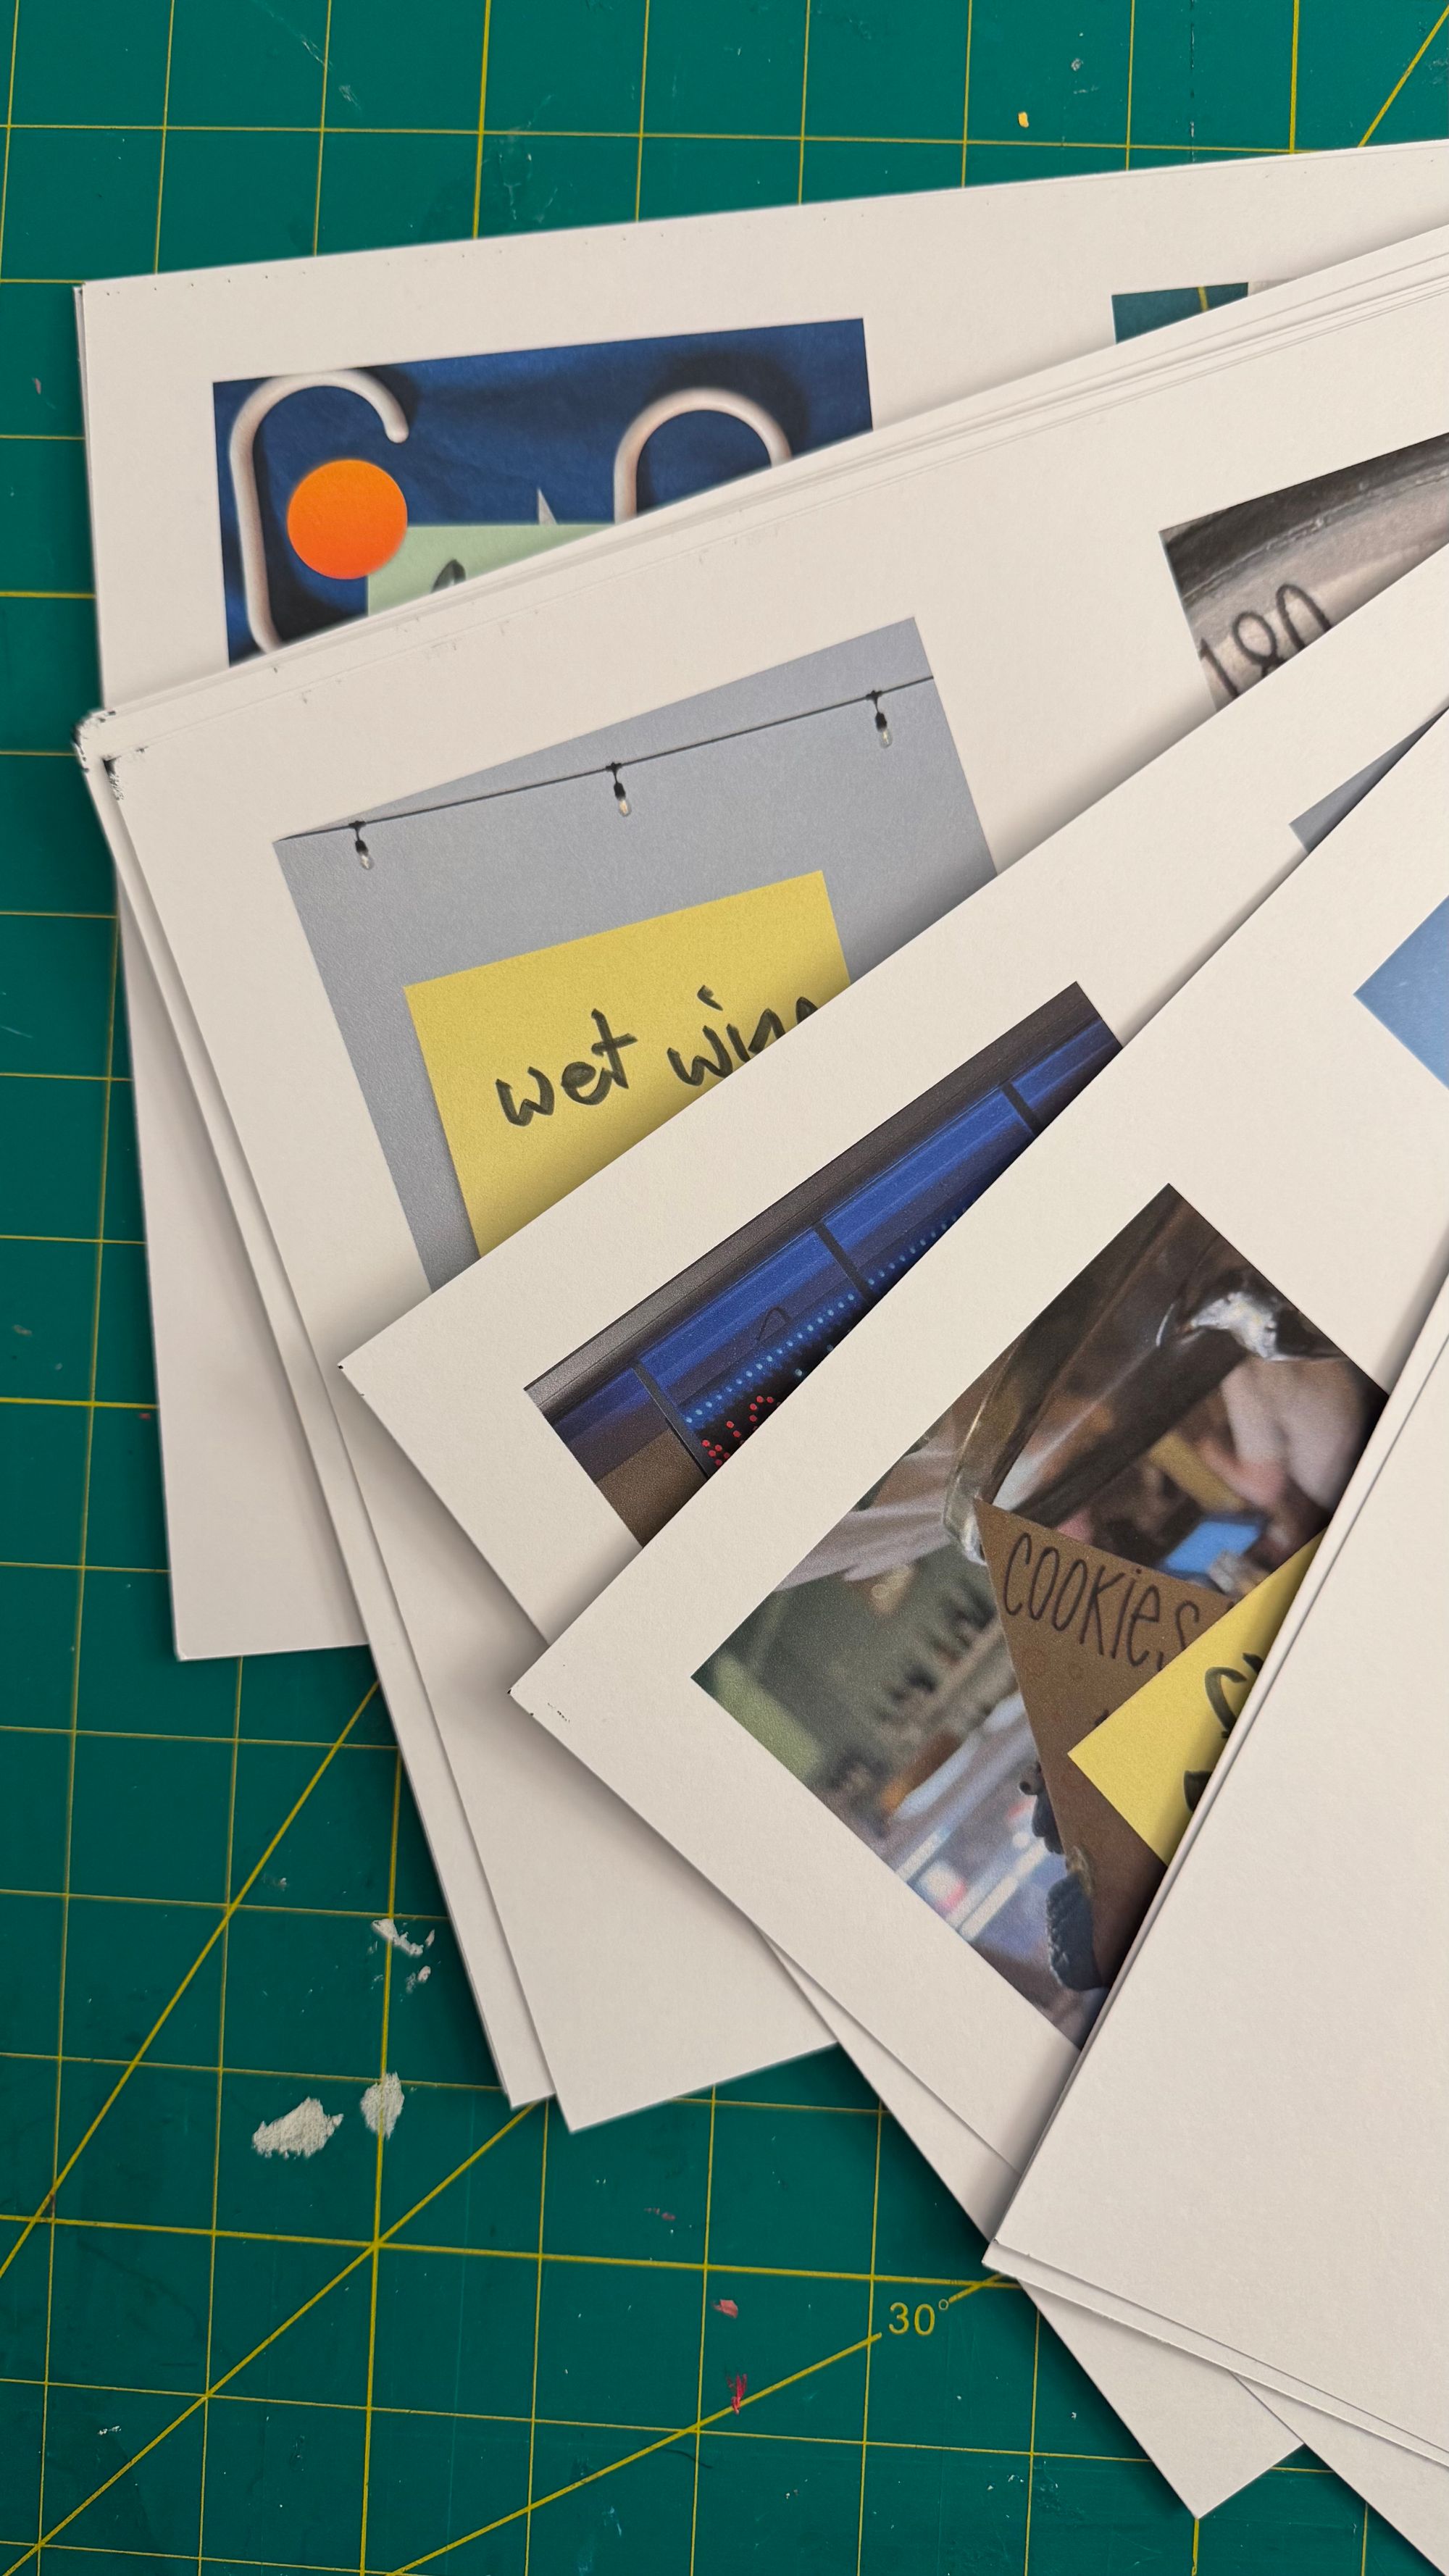
Test pages printed, I started printing pages onto card stock. The card stock was too thick to just feed through the printer like regular paper so I staged 4 sheets at a time. I worked up slowly. One page. Two pages. Four pages. I printed odd pages first, like pages 1, 3, 5, 7 and then flipped them over and printed 2, 4, 6, and 8 on the back. I fouled up only once.
My plan was to split each US Letter into a 5 ½” x 8 ½” sheet. I taped a cutting mat and rulers down to my table to create a jig to reliably cut the pages in half. I finished watching The Outfit on Netflix while cutting pages.
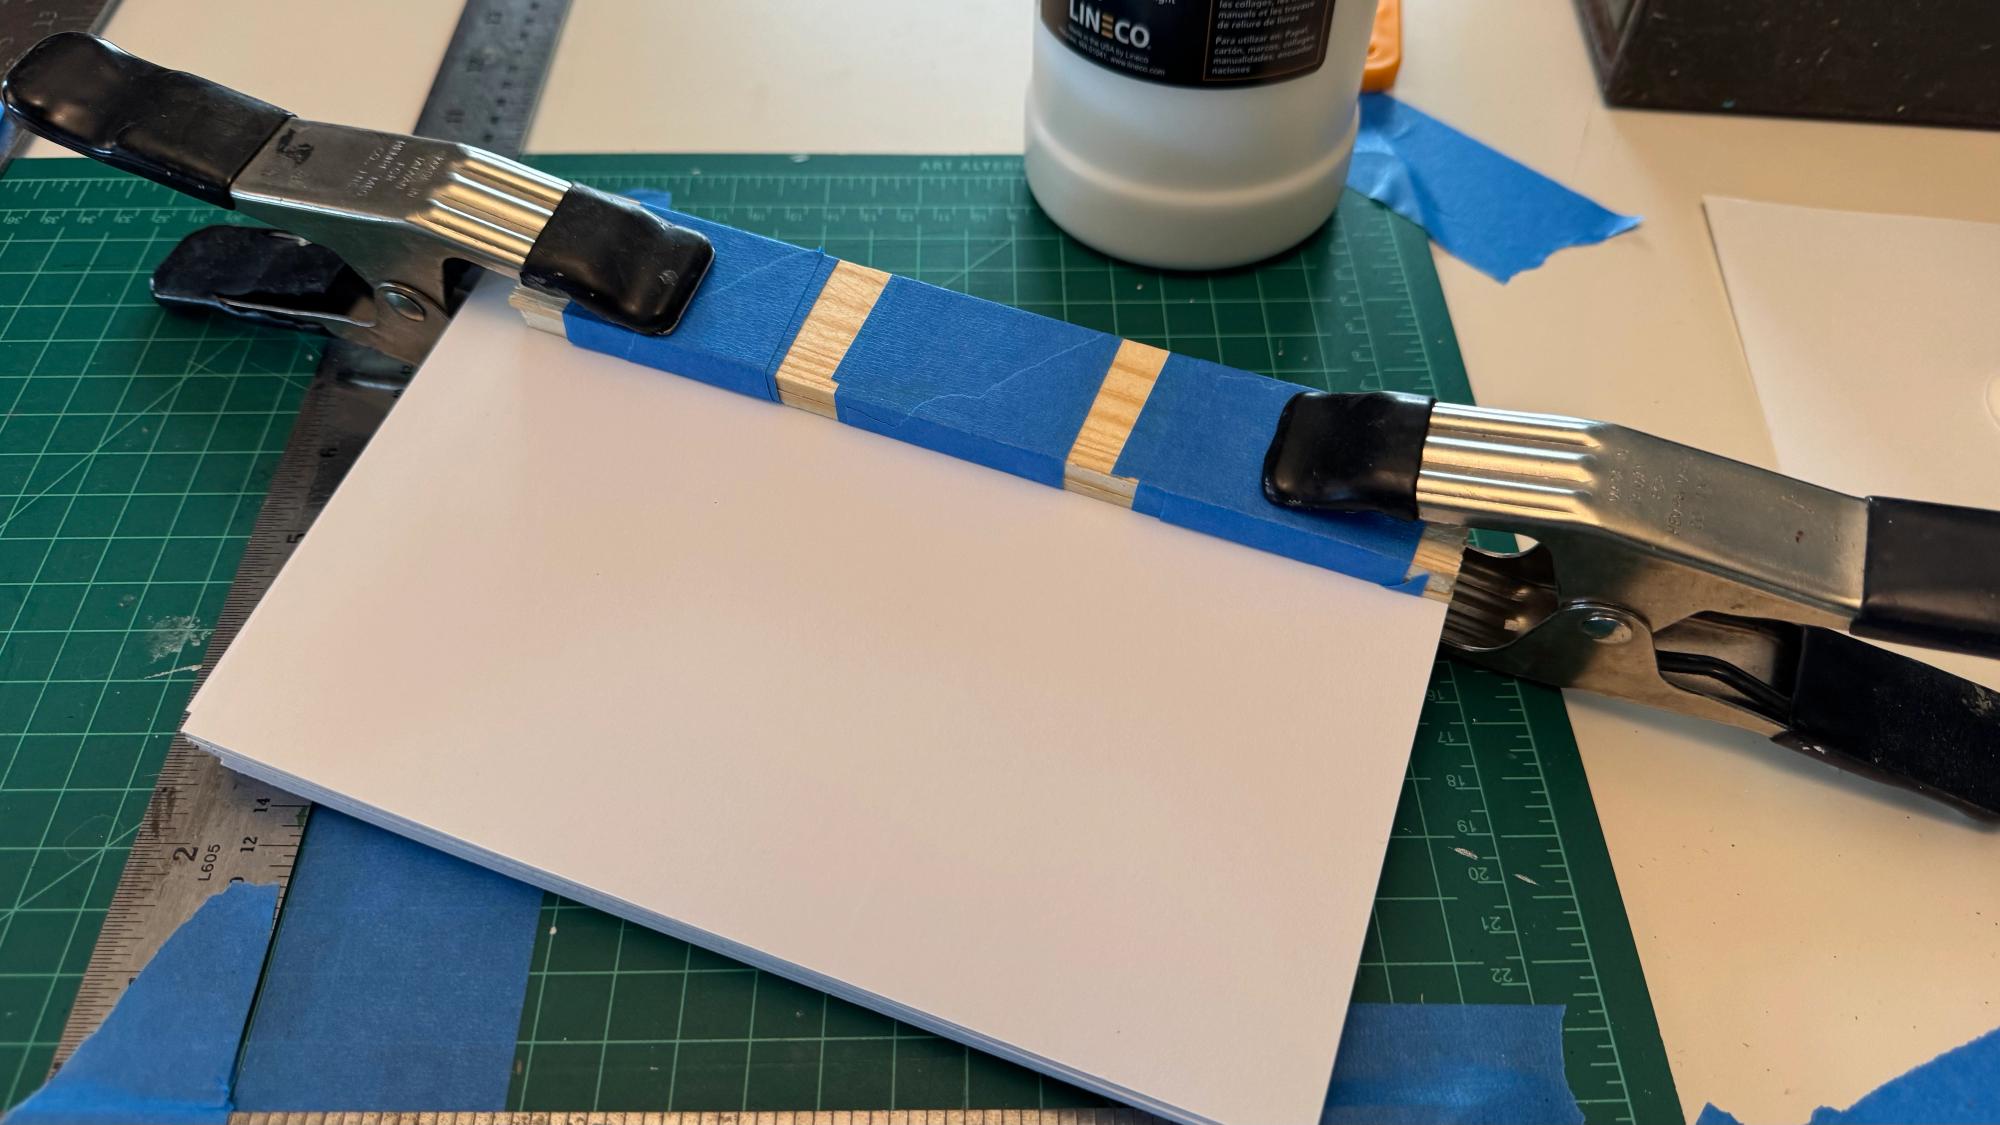
I used some big rubber-tipped binder clips to clamp all of the pages together in between strips of wood. I’ve had these binder clips since the Clinton administration. I bought them in college to clip big paper to big drawing boards. I painted the edge of the page-block with book binding glue, let it dry, painted it again, and again. While the glue set and dried I worked on the cover.
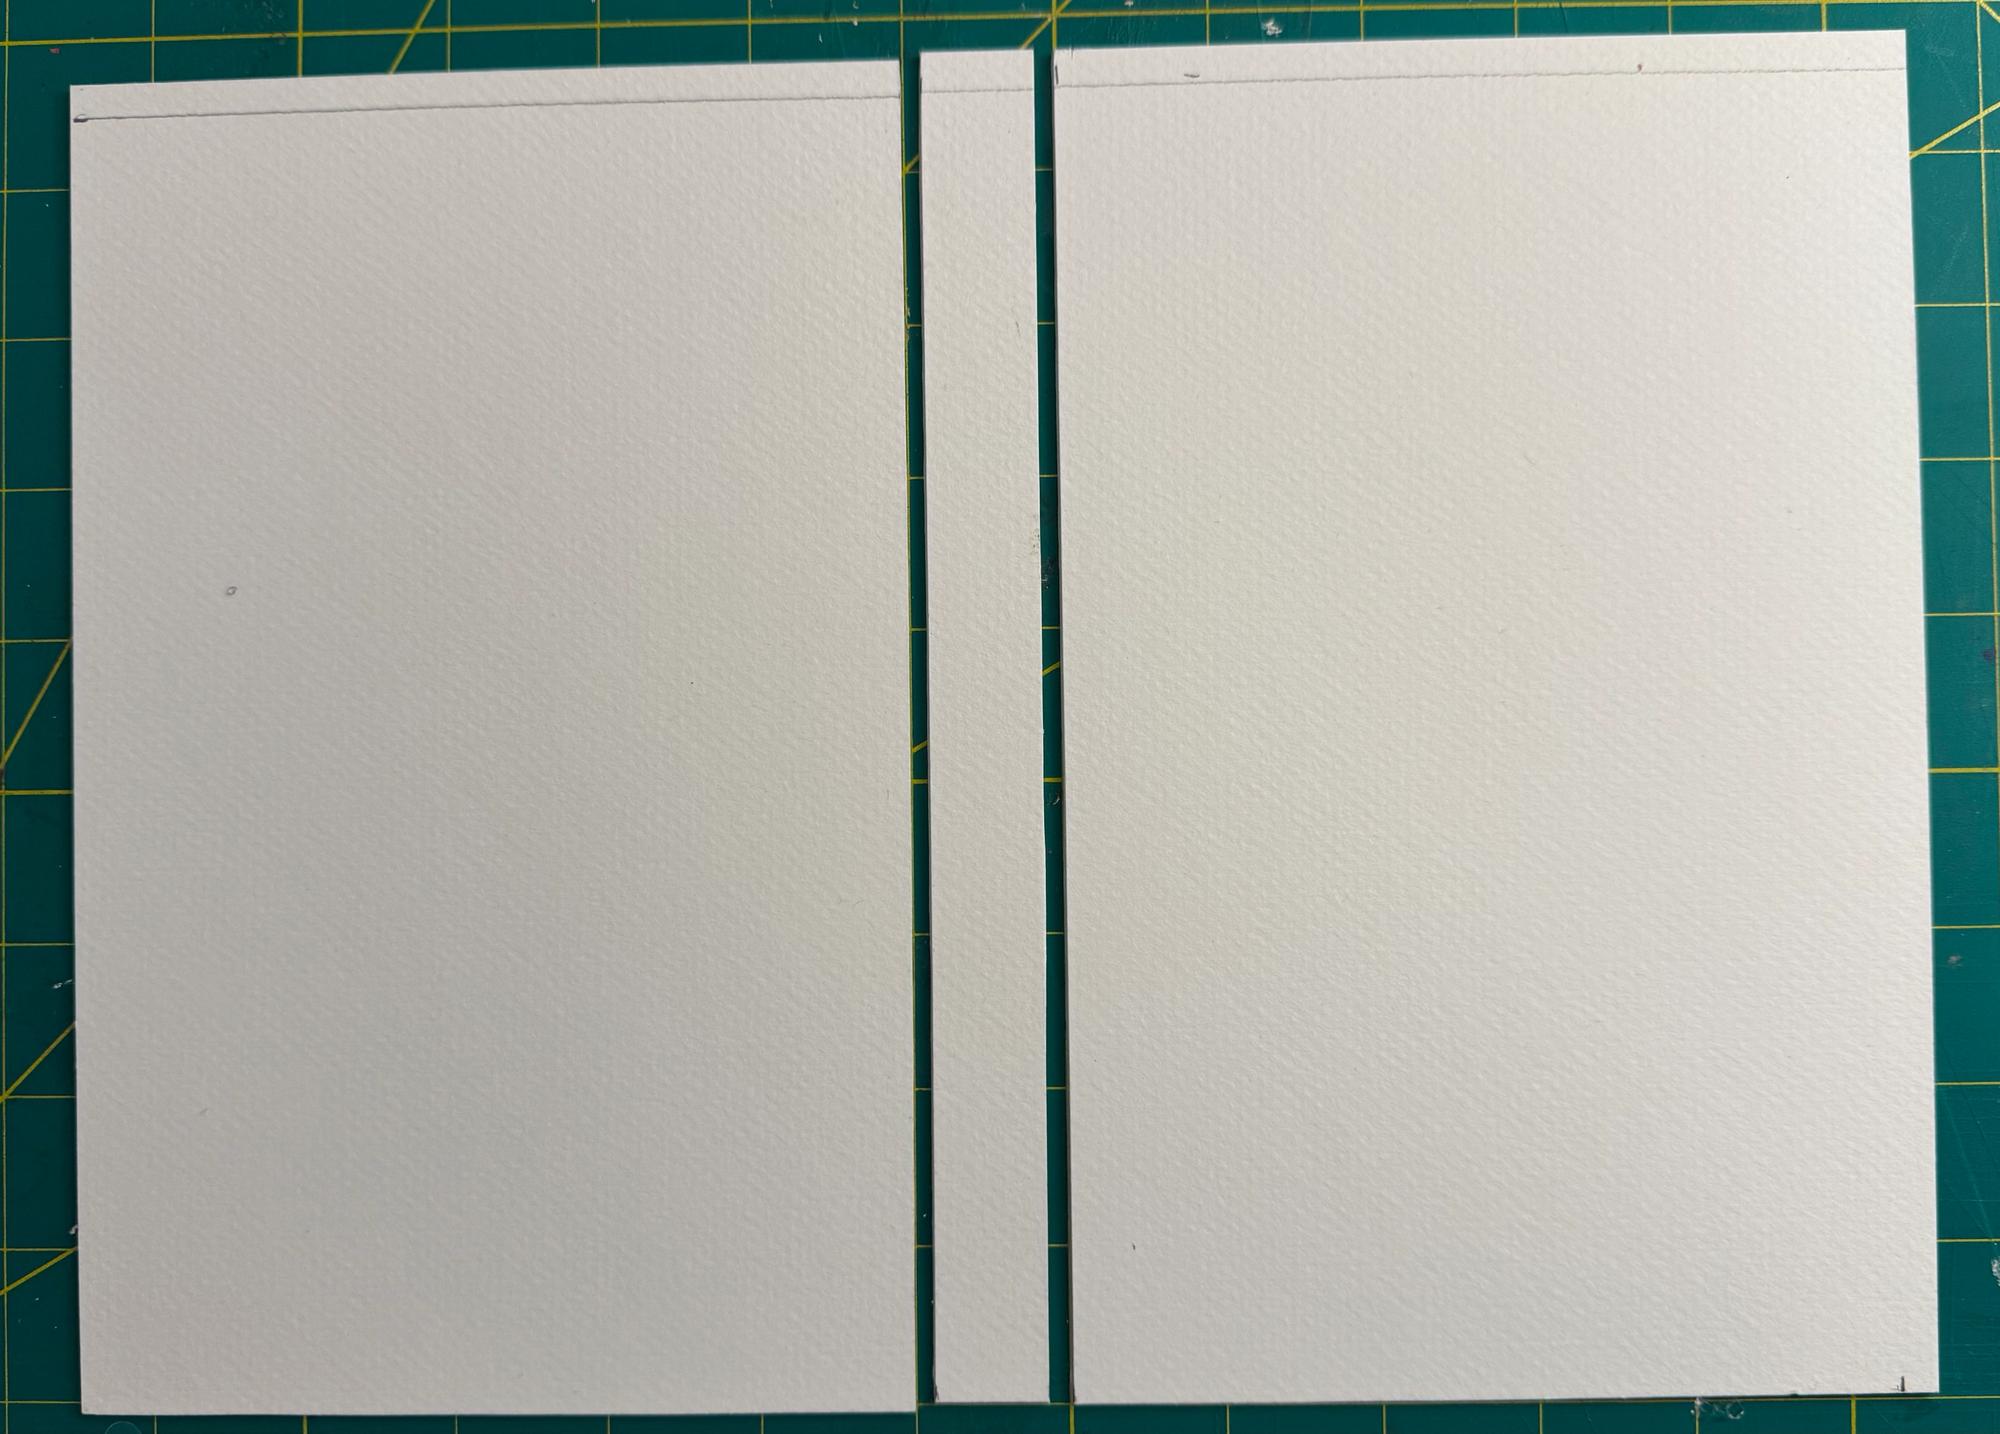
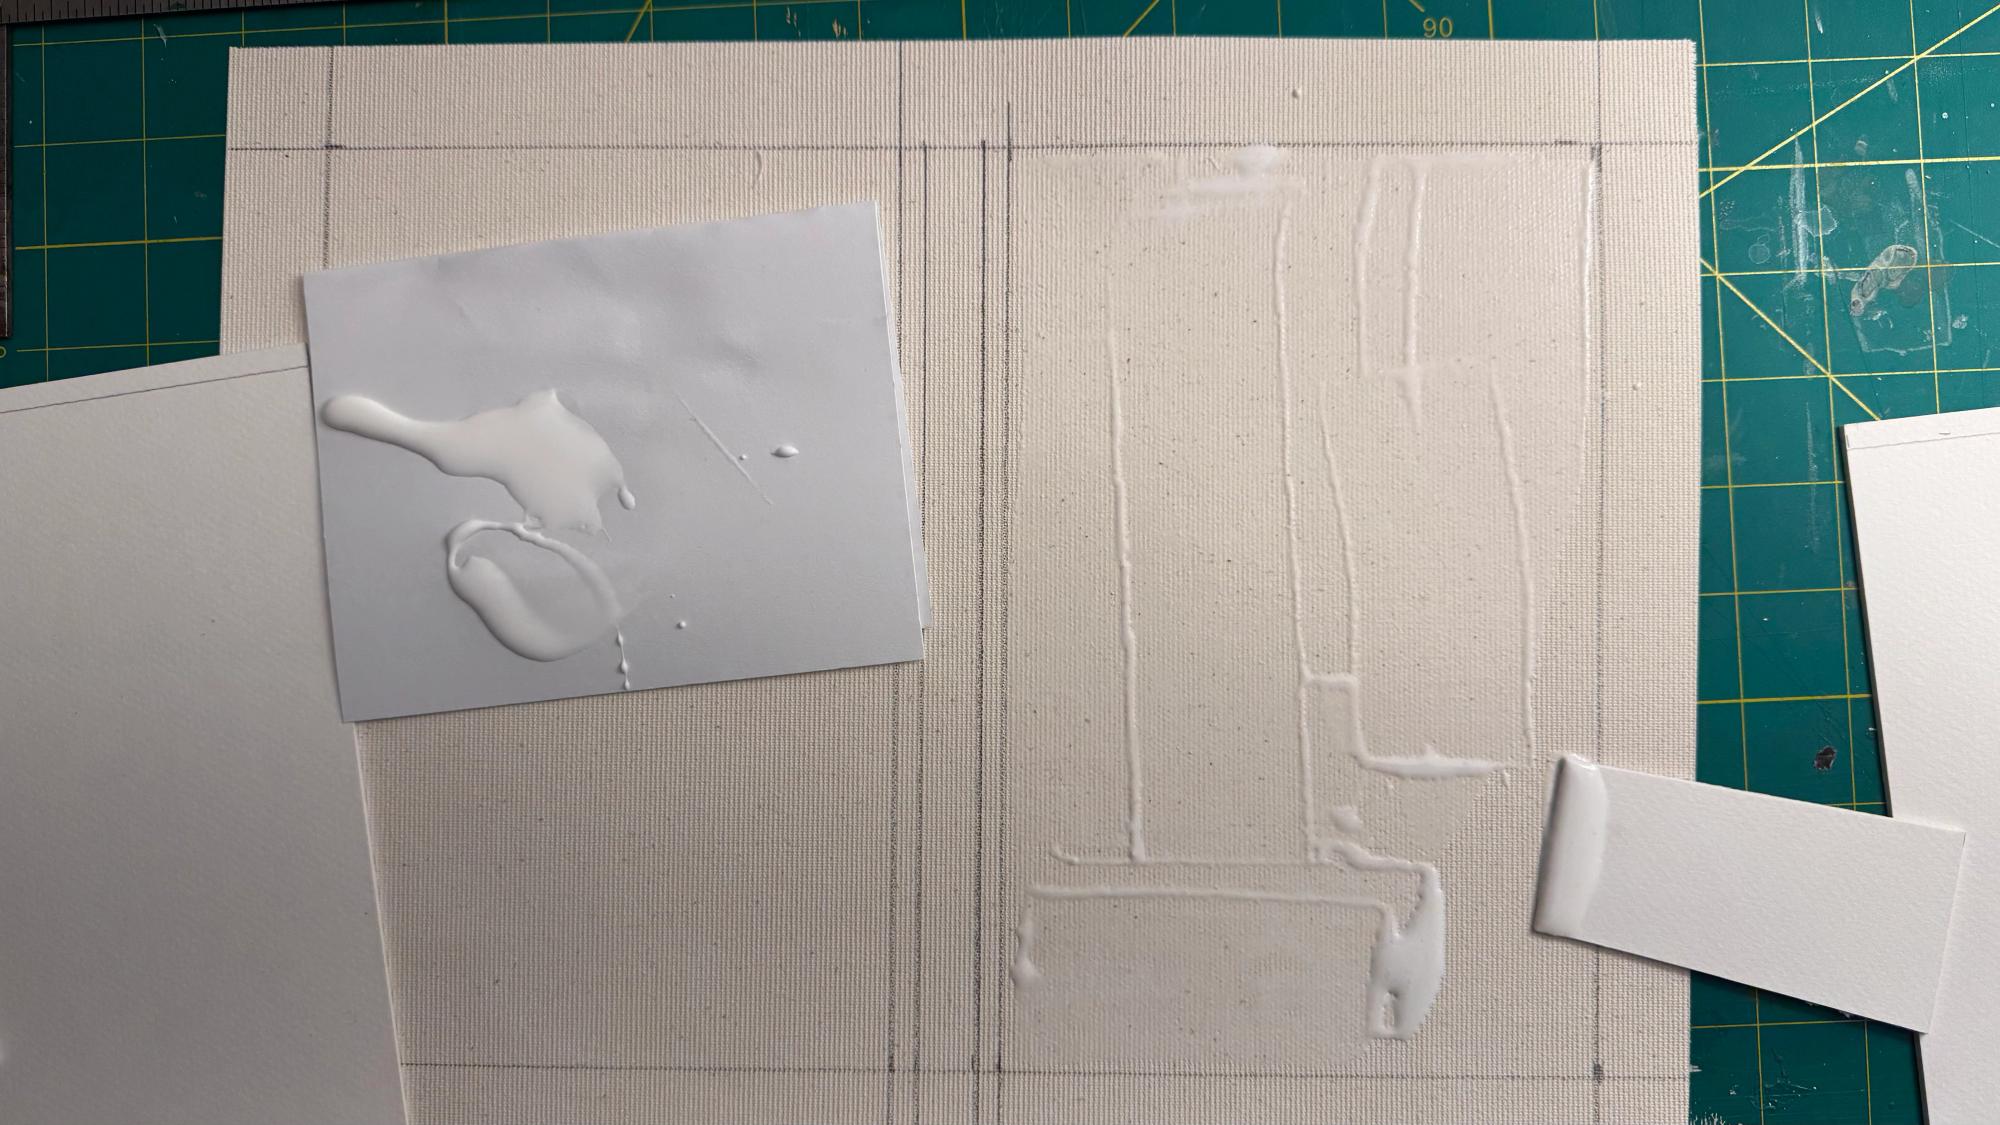
Here’s where I miscalculated twice. While my pages were glued and drying in my makeshift clamp, I tried to measure the width of the block in order to create a spine. As the glue dried under pressure of my clamp the block was compressed further and further. So the final width was a sixteenth of an inch or so smaller than my measurement.
I cut a spine and the front and back covers from acid-free illustration board and glued them into a sheet of primed canvas for my printer. I failed to leave enough space between the spine and the covers. That space between the covers and the spine allows the cover to flex and lay flat when the book is open. Mine was too tight so it doesn’t quite work.
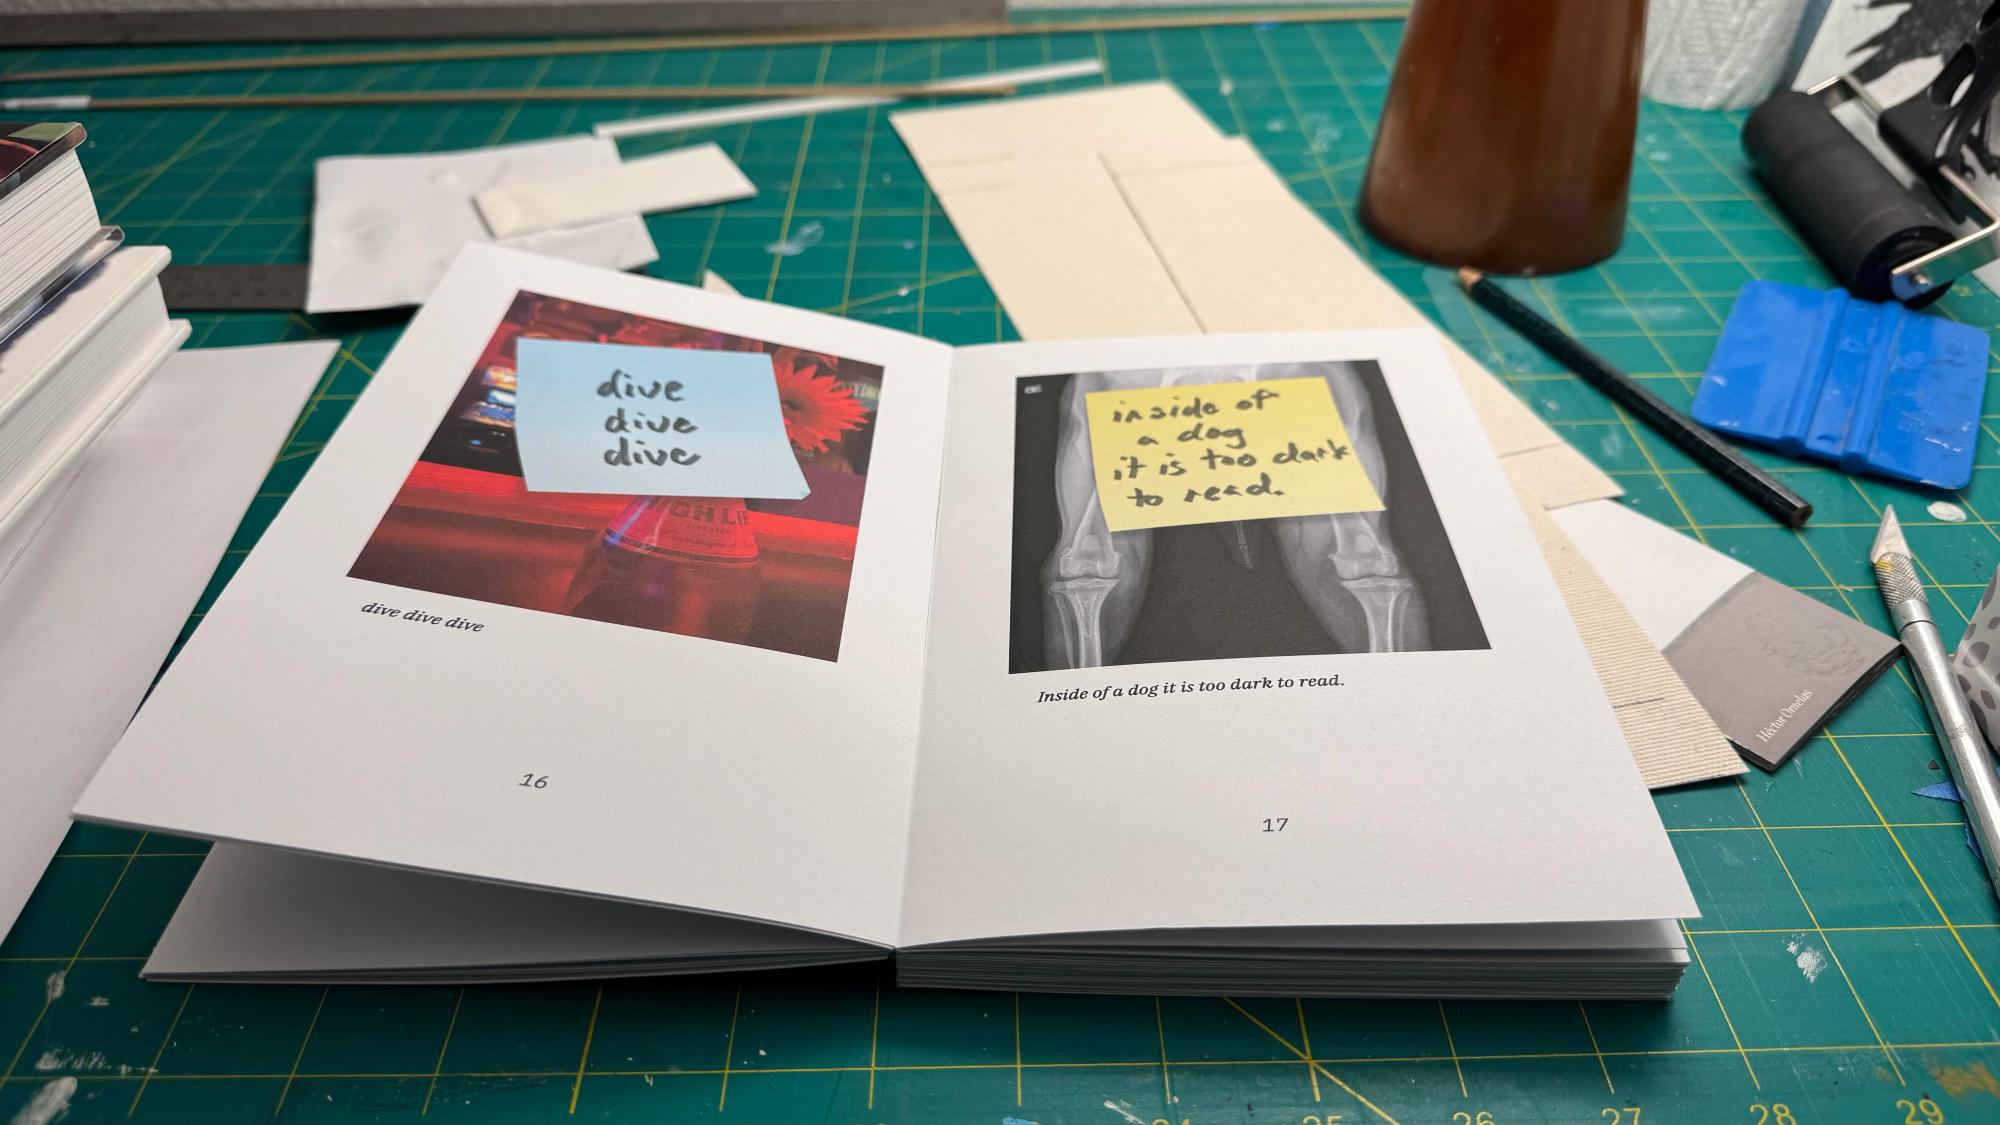
Still the result is pretty nice; not bad for a first try. I like the size, a little bigger than a paperback book. Now that I’ve done this once, I’d like to try again and do better with my measurements. It has me thinking “what else could go in a book?”
Subscribe
New work and writing, straight to your inbox.